
Want to give your walls a quick makeover without spending much? Floating shelves are the perfect solution. They add storage, show off your favorite decor, and keep the space looking open and uncluttered.
The best part? Installing them isn’t as complicated as it looks. You don’t need to be a seasoned handyman to hang a set of floating shelves securely. With just a few basic tools and the right approach, you can transform a blank wall into a functional focal point in no time.
In this guide, you’ll learn exactly how to install floating shelves step by step. Whether you’re putting them up in the kitchen, living room, or bathroom, these instructions will help you do it safely and confidently.
Why Focus on Proper Installation?
Installing floating shelves might seem as easy as screwing brackets into a wall, but there’s more to it. Improper installation can lead to sagging, uneven shelves, or worse, shelves that pull away from the wall. By following the right steps, you’ll:
- Ensure the shelves hold weight safely
- Keep them perfectly level for a polished look
- Avoid damaging your walls
With the right tools and a bit of patience, you can achieve professional results on your first try.
What Tools and Materials Do You Need?

Before you start, gather all the necessary tools and supplies. Having everything on hand will make the installation process smoother.
Tools:
- Drill with bits
- Level
- Measuring tape
- Stud finder
- Screwdriver
- Pencil
Materials:
- Floating shelf with mounting hardware
- Wall anchors (if you can’t screw into studs)
- Screws (usually included with the shelf)
- Optional: toggle bolts for heavy loads
Step 1: Choose the Right Location
Where you install your floating shelf matters for both function and aesthetics.
Consider the Room’s Layout
Decide whether the shelf will be decorative, functional, or both.
Think About Height
Eye-level shelves work best for displays, while higher shelves can store less-used items.
Check for Obstructions
Avoid spots with hidden wires, pipes, or outlets that could interfere with drilling.
Pro Tip: Hold the shelf against the wall and step back to see how it looks before committing to a location.
Step 2: Find and Mark the Studs
Studs are the wooden beams behind your drywall that provide strong anchor points for screws.
How to Locate Them
- Use a stud finder to locate the studs where you’ll mount the shelf.
- Mark each stud’s center with a pencil.
- If your desired placement doesn’t align with studs, you’ll need to use heavy-duty wall anchors instead.
Anchoring into studs is always the safest choice, especially for shelves that will hold heavy items.
Step 3: Measure and Level
Even a slight tilt can make a shelf look off-balance.
How to Get it Right
- Use a measuring tape to mark where the bracket or mounting hardware will go.
- Hold a level across the marks to ensure they’re straight.
- Draw a light guideline to help you during installation.
Taking time to measure twice ensures you only drill once.
Step 4: Attach the Mounting Hardware
Floating shelves typically come with either a metal bracket or rods that insert into the shelf. Follow the manufacturer’s instructions, but these steps work for most models:
Mounting Steps
- Align the bracket with your pencil marks.
- Drill pilot holes into the studs or wall anchors.
- Secure the bracket with screws, making sure it’s flush against the wall.
- Check for levelness again after tightening the screws.
If you’re using wall anchors, insert them first before driving in the screws.
Step 5: Mount the Shelf
Once the hardware is in place, it’s time to slide on the shelf.
How to Attach It
- Carefully slide the shelf onto the bracket rods or secure it using the screws provided.
- Push the shelf all the way back until it sits flush against the wall.
- Tighten any set screws to lock it in place.
At this point, your shelf should feel solid. If it wobbles, double-check that the bracket is tightly secured.
Step 6: Test the Strength
Before loading your shelf with items, do a quick test.
Simple Testing Tips
- Apply gentle downward pressure to check for movement.
- If it shifts, re-secure the screws or add additional anchors.
- Gradually place items, starting with lighter ones, to ensure it holds weight properly.
How to Style Your Newly Installed Shelves

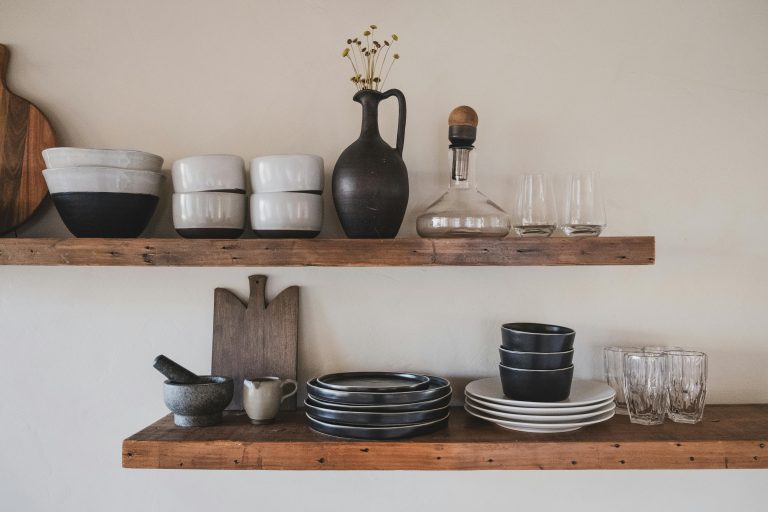
Once installed, your floating shelves become both functional and decorative. Keep them balanced by mixing practical items with a few accents:
- In kitchens: Combine dishes with small plants or cookbooks.
- In living rooms: Pair framed photos with candles or sculptures.
- In bathrooms: Stack towels with jars or decorative containers.
Avoid overcrowding—negative space enhances the overall look.
Common Installation Mistakes to Avoid
Even first-time DIYers can succeed as long as they steer clear of these errors:
- Skipping Studs or Strong Anchors: Leads to shelves that pull away from the wall.
- Not Checking for Level: A crooked shelf is noticeable and frustrating.
- Using the Wrong Screws: Short or weak screws may not support the weight.
- Overloading Immediately: Test the strength gradually instead of placing heavy items all at once.
Can You Install Floating Shelves on Tile or Brick Walls?
Yes, but it requires different tools and techniques.
For Tile
Use a masonry bit to drill through the tile, then switch to a wood bit for the stud.
For Brick
Use a hammer drill and masonry anchors for a secure hold.
While more challenging, shelves on these surfaces can still be installed safely with the right hardware.
How Much Time Does Installation Take?
For first-time DIYers, installing a single floating shelf typically takes 30–60 minutes. Adding multiple shelves may take a couple of hours, especially if you’re spacing them evenly and working carefully. This makes it one of the ideal projects to tackle on a free afternoon.
Why Learning How to Install Floating Shelves Is Perfect for DIY Beginners
Floating shelves offer a high-impact upgrade with minimal tools, cost, and time investment. Unlike large furniture builds, installation is straightforward and beginner-friendly. Plus, once you understand how to build floating shelves, installing them becomes the easy and rewarding part of the project. After completing both steps, you’ll have shelves that are not only functional but also customized to your home’s style.
Wrapping Up
Installing floating shelves doesn’t require professional skills—just a little preparation and attention to detail. By finding studs, using the right hardware, and ensuring everything is level, you can create sturdy, stylish storage that elevates any room. With this guide, you’ll have a wall transformation you can be proud of in just an afternoon.